If you have stucco, you can be fairly certain that it will get moldy eventually. It’s probably best to replace it before the mold grows in since failing to act quickly can result in expensive bills. Just ask this local couple. When trying to sell their house, their buyer backed out after a stucco inspection found that their home needed $70,000 to $120,000 worth of work to correct the compromised walls. Some experts say that stucco homes as new as 10 years can have mold damage repairs costing $200,000+.
Fortunately, moldy walls can often be saved in a process called stucco remediation. In most cases, the sooner you act, the easier it will be to fix.
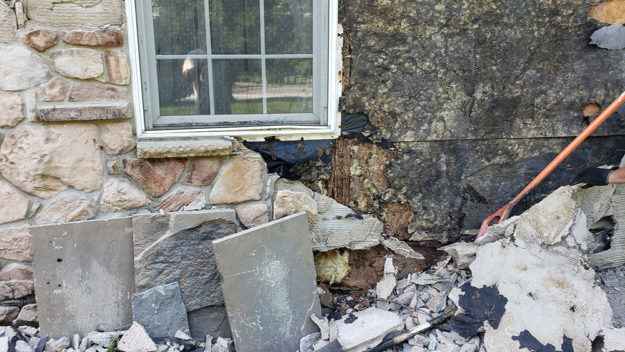
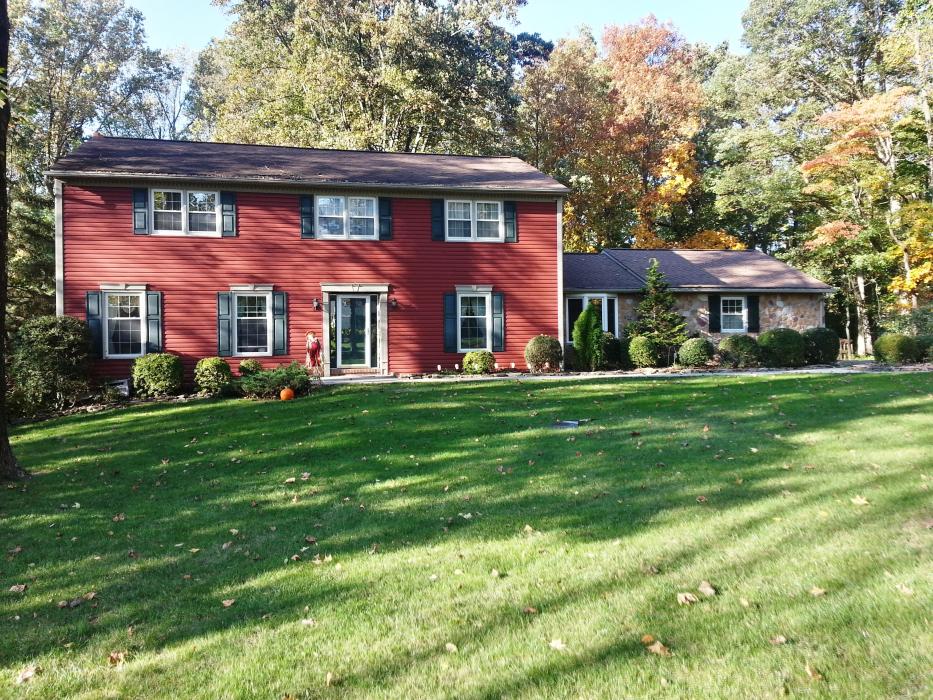
Over the summer, we aided a homeowner in remediating their stucco walls. They called us when they noticed cracks in their foundation, which is a tell-tale sign that there is mold growing underneath. Other indicators include black streaks, cracks, and gaps, which tend to occur around windows and other penetrations in your walls.
Our Stucco Remediation Process

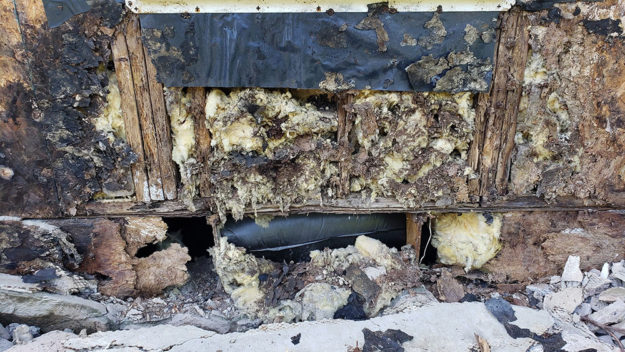
- Remove Damaged Plywood Sheathing. After the stucco is out of the way, we remove any plywood sheathing underneath that has been damaged. Remember, mold spreads, so it’s important that we gut out any of the mold that clings onto the structure.
- Remove Damaged Structural Components. Next, we remove any structural components of the wall that have been compromised by mold. This ensures that the mold has been eliminated in its entirety.
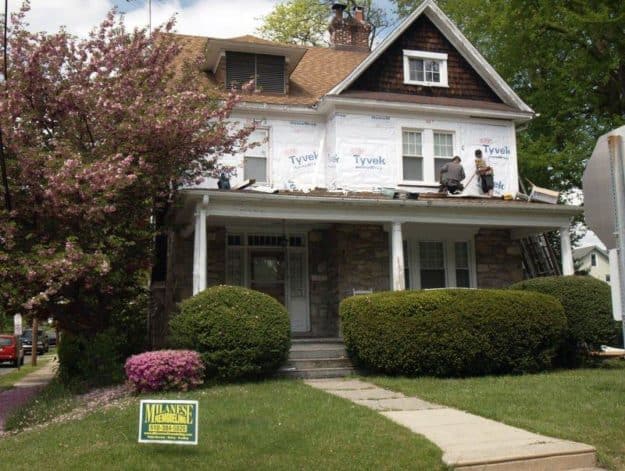
- Install New Flashing. We need to remove the windows and doors and install new flashing. Windows and doors tend to be where the mold is able to seep into the stucco.

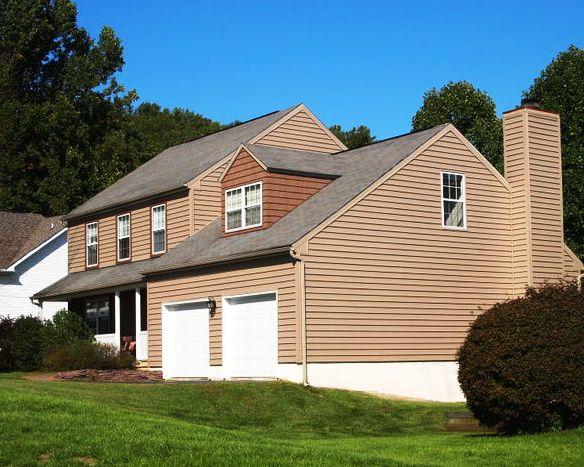
- Install New Siding. The final step is installing the new siding. We offer several different types of cladding to choose from, including Hardie board fiber cement siding and insulated vinyl.
Why We Love Insulated Vinyl Siding
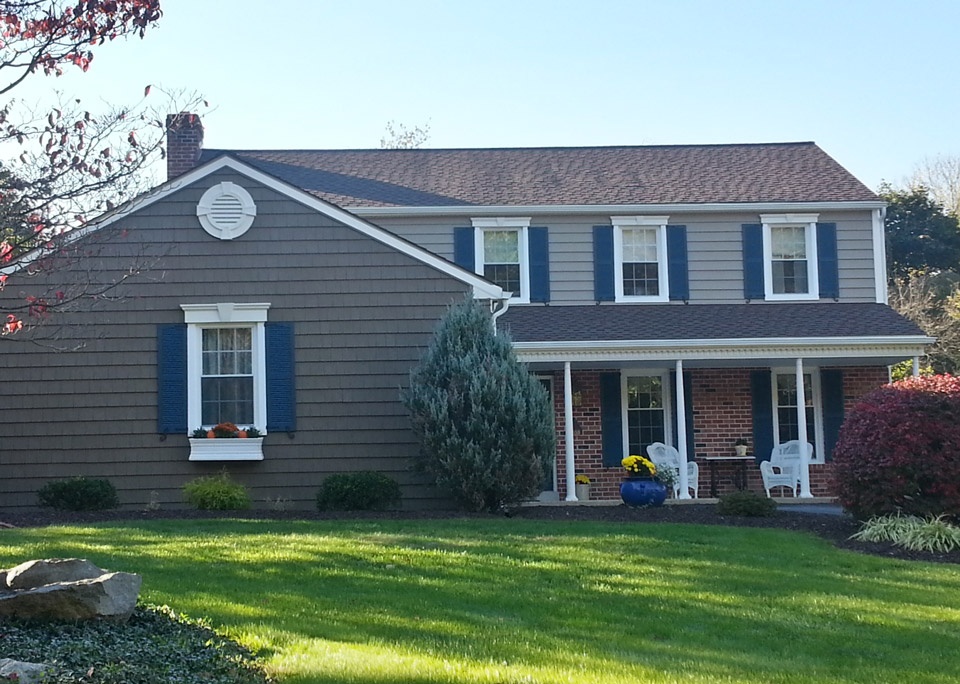
At Milanese Remodeling, we recommend installing insulated vinyl siding. This type of cladding offers several benefits, including:
- Reduces outside noise
- Makes your home more energy efficient by holding in AC and heat
- Great Durability
- Available in many color and style options
- Naturally repels insects
- Doesn’t wave or buckle over time
- Impervious to water damage
- Low-maintenance
- Backed by a lifetime guarantee
Many homeowner associations require Hardie fiber cement siding, which we are also able to install. However, we prefer insulated vinyl since it has a better warranty and contains no wood. You can weigh the pros and cons of several exterior cladding options here.
The Milanese Remodeling Promise
When we replace siding for our customers, we want the results to last. We use Alside Insulated Vinyl Siding and are up-to-date with all of their manufacturer specifications, and we promise to each of our customers in writing that we will uphold those standards. This gives you access to the Lifetime Limited Transferable Warranty from Alside.